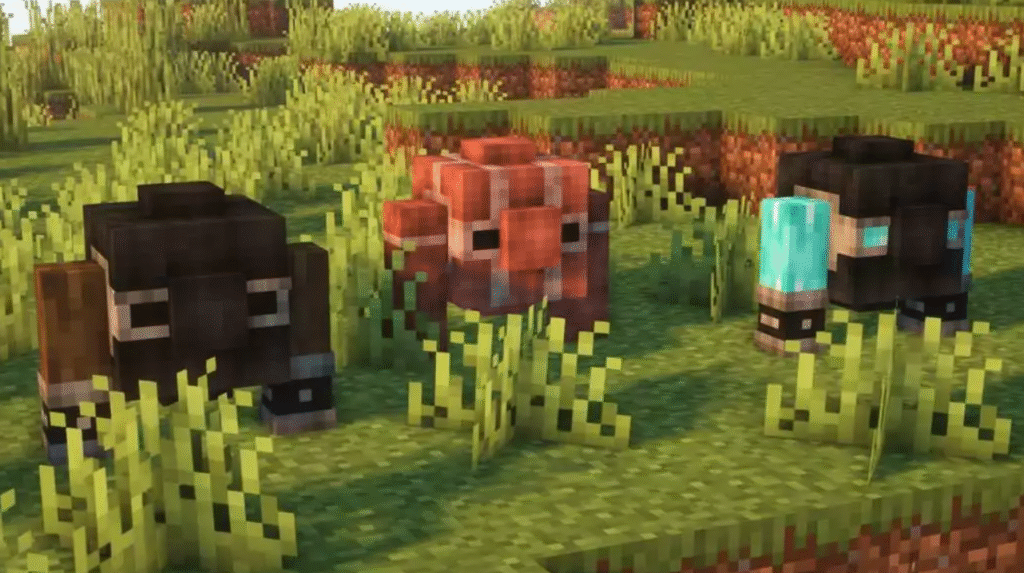
Minecraft, the beloved sandbox game by Mojang Studios, has captivated millions of players worldwide with its limitless potential for creativity and adventure. However, while the base game offers an expansive experience, mods can take it to an entirely new level. From new mobs and biomes to advanced tech systems and magic, Minecraft mods can transform your gameplay experience.
In this guide, we’ll walk you through how to install mods in Minecraft, whether you’re a complete beginner or just need a refresher. By the end, you’ll be ready to explore a universe of custom content.
What Are Minecraft Mods?
Mods (short for “modifications”) are player-created content that alter or add to the base Minecraft game. These can range from simple quality-of-life improvements to full-blown overhauls that change the game’s mechanics entirely.
Some popular mods include:
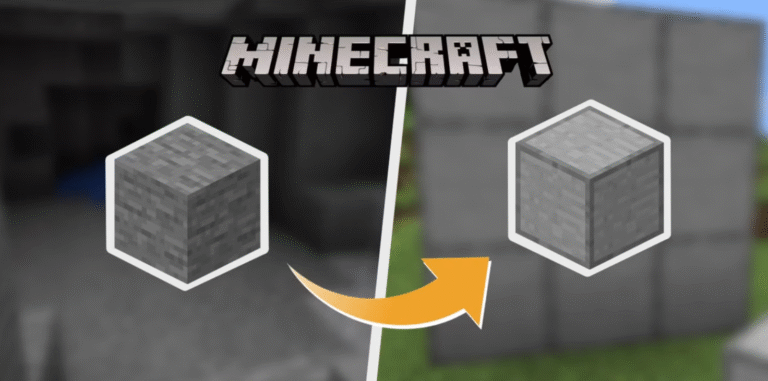
Optifine – Enhances graphics and performance.
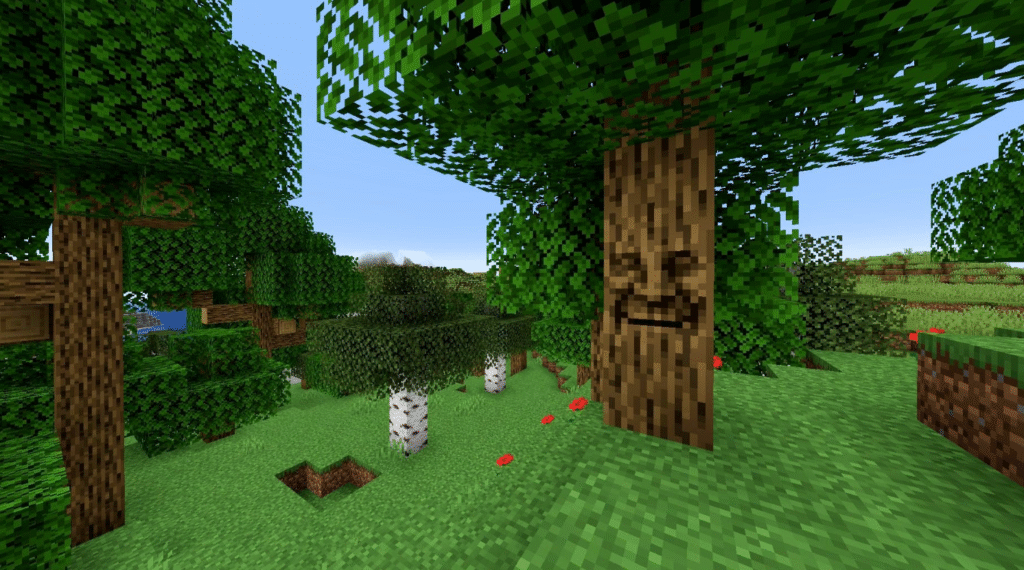
Biomes O’ Plenty – Adds dozens of new biomes.
Tinkers’ Construct – Introduces a new tool-building system.
JourneyMap – Adds a real-time minimap and world map.
Mods are primarily available for the Java Edition of Minecraft. If you’re using Minecraft Bedrock Edition (on Windows 10, consoles, or mobile), modding is much more limited and usually comes in the form of “addons” from the Minecraft Marketplace.
Prerequisites for Modding Minecraft
Before jumping into installation, you’ll need a few things:
Minecraft Java Edition
Mods are mostly created for Java Edition, so make sure you have it installed. You can purchase and download it from the official Minecraft website.
Java Development Kit (JDK)
Mods and Minecraft mod loaders are Java-based. While Minecraft installs its own runtime, some mods or mod loaders may require you to install the Java Development Kit (JDK).
Download the latest version of Java (typically JDK 17 or above) from Oracle or AdoptOpenJDK.
Minecraft Launcher
Use the official Minecraft Launcher. Avoid cracked or third-party launchers, as they may be incompatible with mods or contain malware.
Backup Your Worlds
Always back up your worlds before installing mods. Modding can cause crashes or corruption if not handled properly.
Step 1: Install a Mod Loader (Forge or Fabric)
Minecraft doesn’t support mods natively. You’ll need a mod loader, which is a tool that injects mod code into the game.
Option A: Forge (Most Common)
Go to the Forge website.
Choose the version of Minecraft you want to mod (e.g., 1.20.1).
Click “Installer” (not “Windows Installer” unless you’re certain it works for you).
Once downloaded, double-click the .jar file.
Select “Install client” and click OK.
Open the Minecraft Launcher and select the Forge profile.
Option B: Fabric (Lightweight and Faster)
Visit the Fabric Installer.
Download the installer for your operating system.
Choose your Minecraft version and click “Install”.
Make sure the correct Minecraft directory is selected.
Start the Minecraft Launcher and choose the Fabric profile.
Note: Some mods are exclusive to Forge or Fabric, so check the mod’s compatibility before choosing a loader.
Step 2: Install Mod Loader API (Like Fabric API)
If you’re using Fabric, you’ll often need to install Fabric API, which is a core library many Fabric mods require.
Go to CurseForge Fabric API page.
Download the version matching your Minecraft/Fabric version.
Place the .jar file in the mods folder (more on this below).
Forge doesn’t require a separate API for most mods, though some may still need libraries like Bookshelf or Curios.
Step 3: Locate or Create the Mods Folder
Mods are placed in the mods directory within your Minecraft installation.
On Windows:
Press Win + R, type %appdata%.minecraft, and press Enter.
Look for a folder named mods.
If it doesn’t exist, create it manually (right-click > New > Folder > name it mods).
On macOS:
Open Finder.
Press Command + Shift + G.
Type ~/Library/Application Support/minecraft and hit Enter.
Create a mods folder if it doesn’t exist.
Step 4: Download and Install Mods
Visit a trusted modding site like:
CurseForge
Modrinth
Planet Minecraft
Find a mod you want. Make sure:
It matches your Minecraft version.
It is compatible with your mod loader (Forge or Fabric).
Download the .jar file.
Move it to your Minecraft mods folder.
Repeat this for each mod you want to install.
Step 5: Launch Minecraft with Mods
Open the Minecraft Launcher.
Choose the Forge or Fabric profile.
Click Play.
If all mods are compatible and correctly placed, the game should launch.
Once in-game, click “Mods” on the main menu to see installed mods.
Step 6: Troubleshooting
If your game crashes or mods aren’t showing up, here are some common fixes:
Version mismatch: Double-check the Minecraft, Forge/Fabric, and mod versions.
Missing dependencies: Some mods require additional libraries. Check the mod page for requirements.
Corrupt files: Re-download the mod if it’s not working.
RAM issues: Mods can be RAM-intensive. You may need to allocate more memory in your Minecraft Launcher settings.
To allocate more RAM:
Open Minecraft Launcher.
Click on Installations.
Click the three dots next to your Forge/Fabric profile and select Edit.
Click More Options.
In the JVM Arguments, change -Xmx2G to a higher value (e.g., -Xmx4G for 4GB of RAM).
Optional: Use Modpacks for Easier Installation
Modpacks bundle dozens or hundreds of compatible mods into one download, simplifying the process. You can use platforms like:
CurseForge App – Lets you browse and install modpacks with one click.
ATLauncher and Technic Launcher – Also offer modpacks with built-in mod loaders.
These launchers manage versions and dependencies for you, making them ideal for beginners.
Modding Etiquette and Safety Tips
Always scan downloads for viruses if you’re not using a reputable site.
Respect mod developers. Don’t redistribute their work without permission.
Keep backups of your saves and configs before adding new mods.
Join modding communities like Reddit’s r/feedthebeast or the CurseForge Discord for help.
Installing mods in Minecraft can dramatically enrich your gameplay, from new adventures to refined mechanics and stunning visuals. While the process can seem daunting at first, once you get the hang of mod loaders and file management, the possibilities become endless.
Whether you want to play skyblock with industrial machinery, explore a roguelike dungeon world, or just add shaders to make Minecraft prettier—modding is the gateway. Now that you know how to install mods step-by-step, it’s time to explore and build your perfect Minecraft experience.